Skip to content
Nos produits
Projets
Sur-Mesure
Solutions
News
À propos
Ressources
Contact
English
Home
>
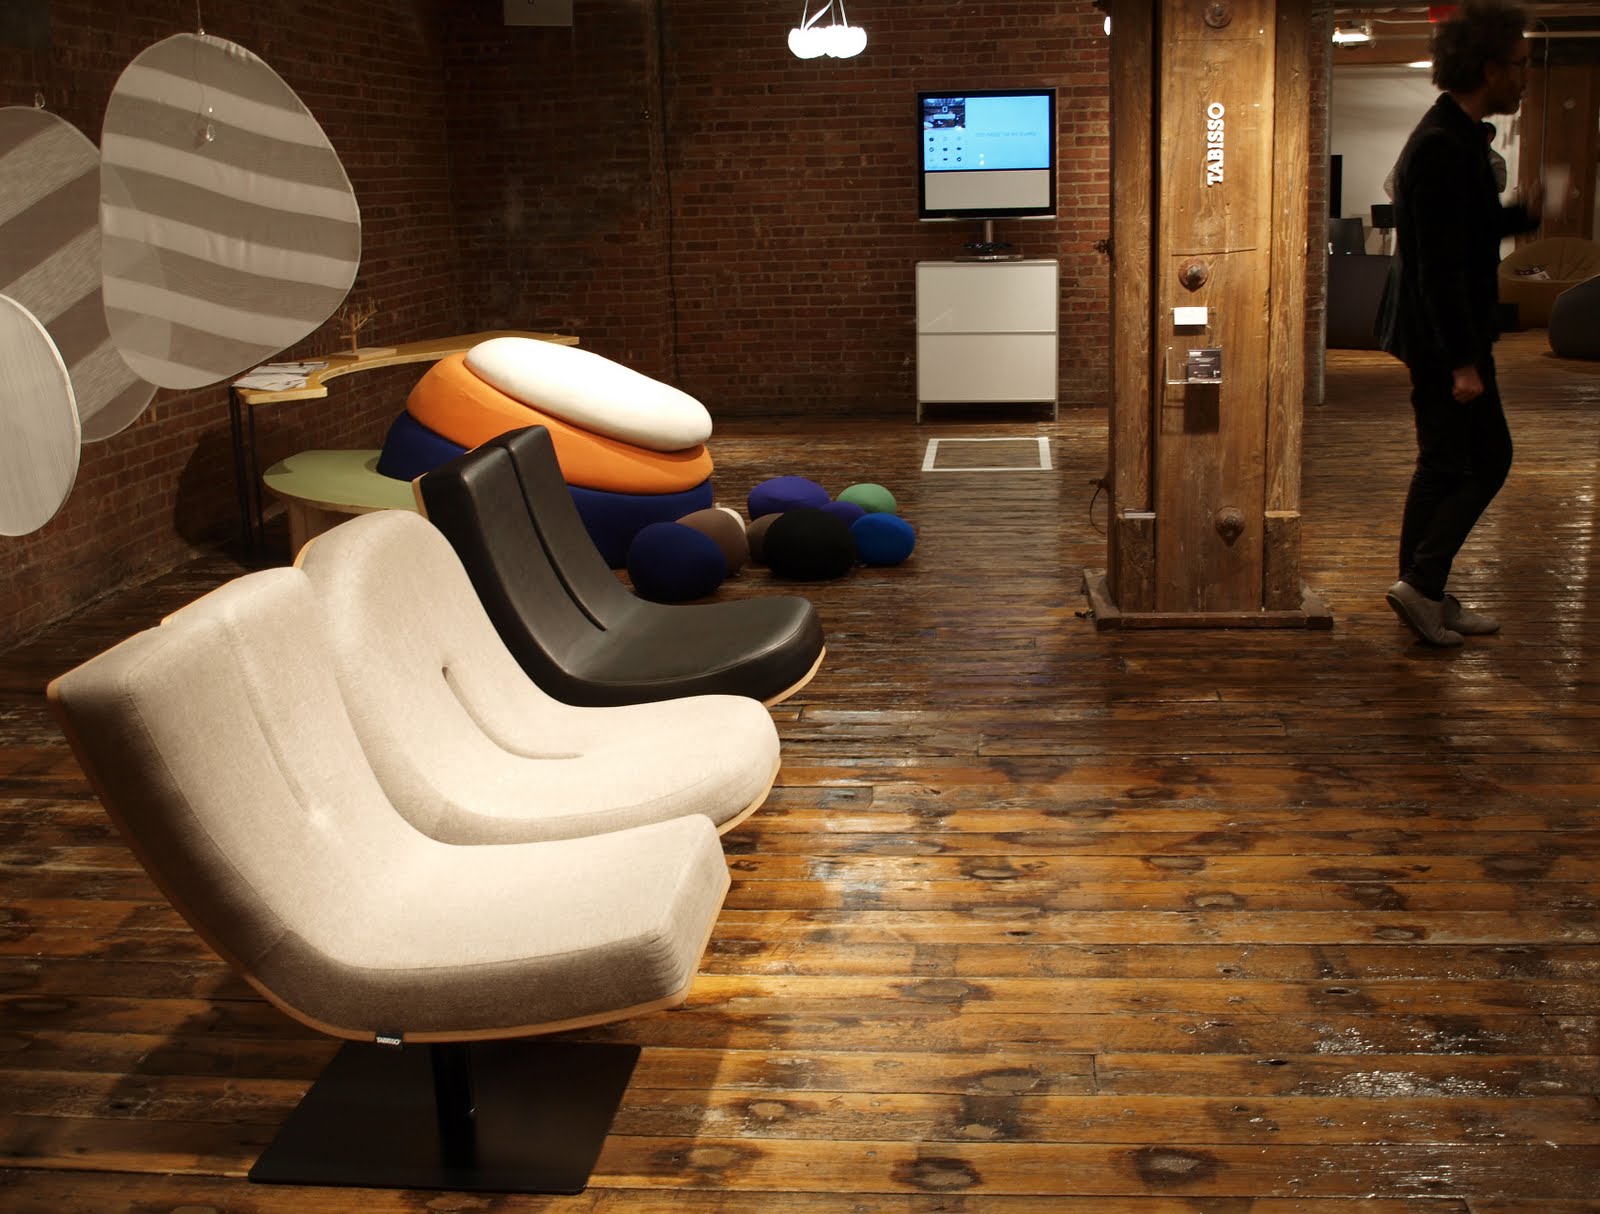
TABISSO à WANTED DESIGN, New York – Mai 2011
>
1
1
← Previous image
Next image →
Return to gallery